
# Spam Protection
We use Akismet (opens new window) for spam filtering. If you want to get more protection you can use Google reCAPTCHA (opens new window).
Google reCAPTCHA is the one of the best solutions to prevent web spams. There are two versions of Google reCAPTCHA and we support both clickable (v2) and invisible reCAPTCHA (v3).
# Setting up reCAPTCHA v3 (Invisible)
# Step 1 - Get API Keys
First, you need to grab an API key from Google reCAPTCHA Console clicking here (opens new window), you can login with your Google Account.
After you login to Google reCAPTCHA Console, create a new site. Select reCAPTCHA v3 and add your domains.
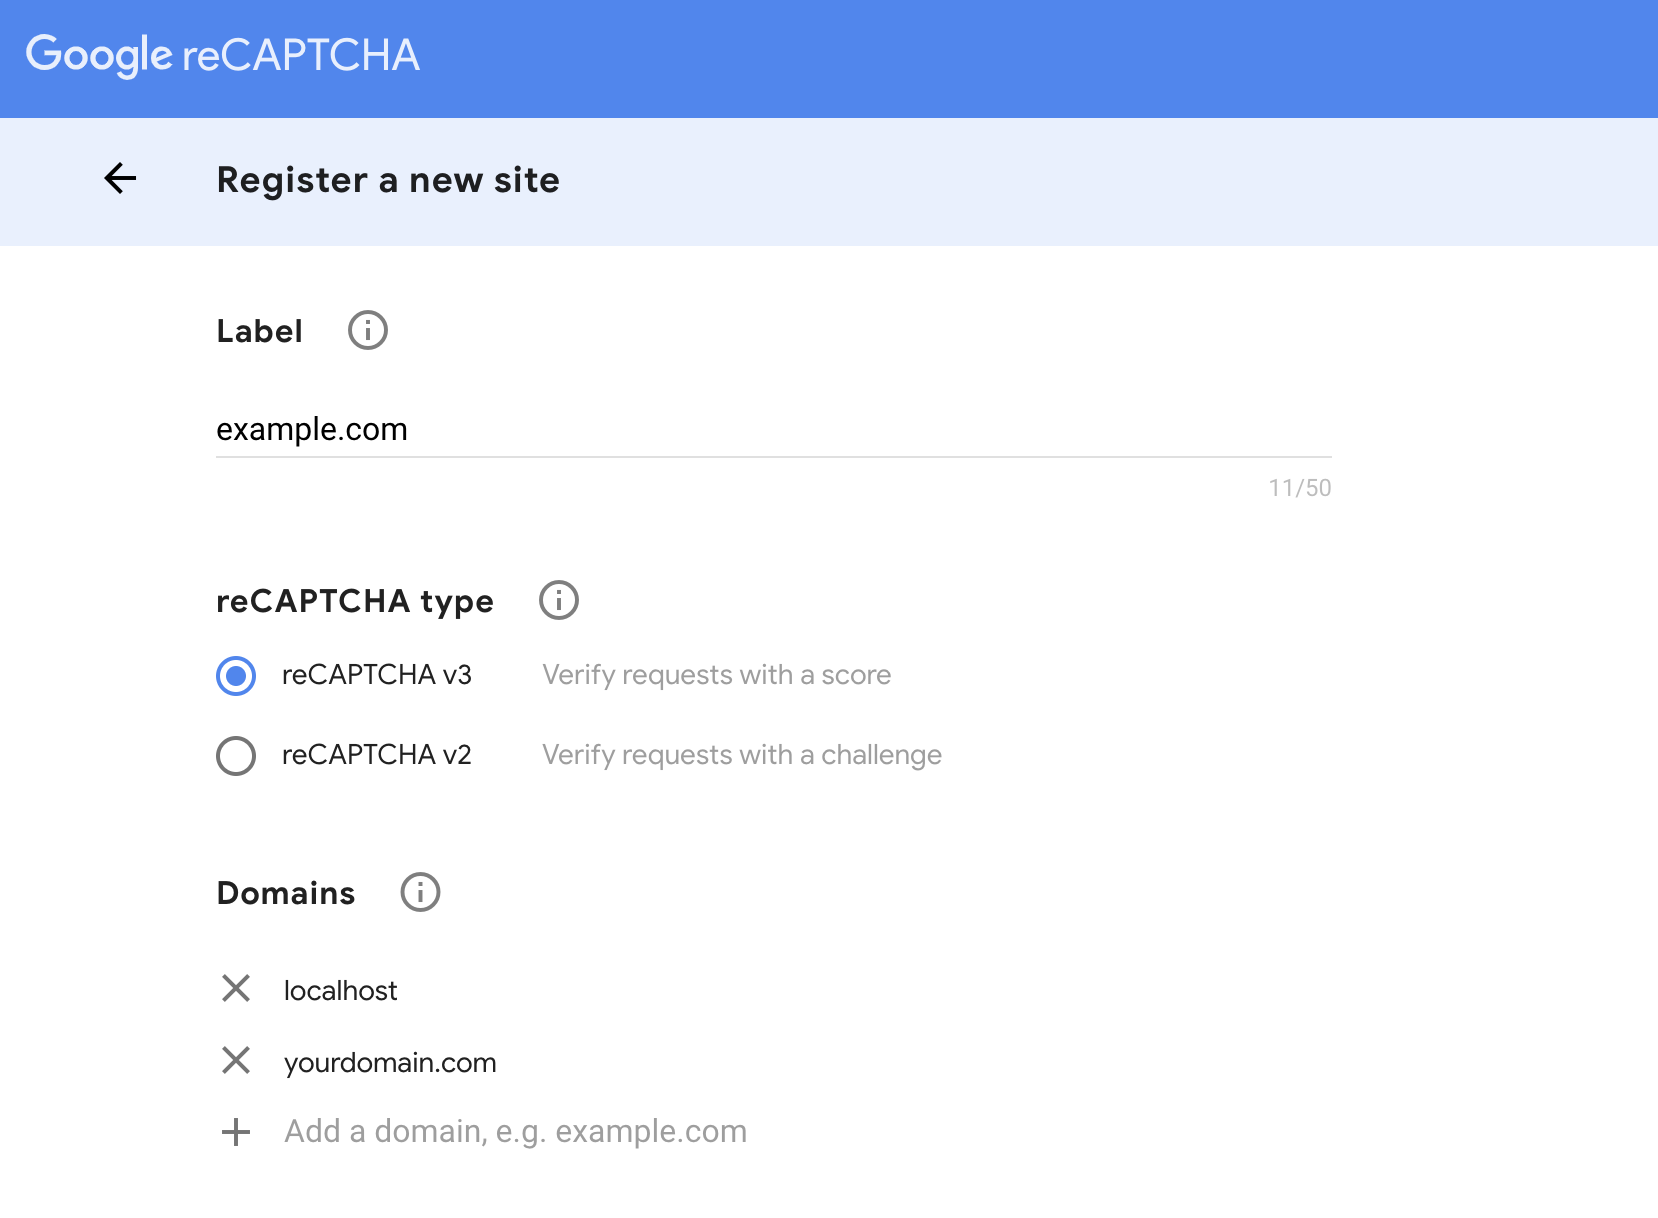
TIP
If you want to test it on your local, don't forget to add the localhost into the domain list.
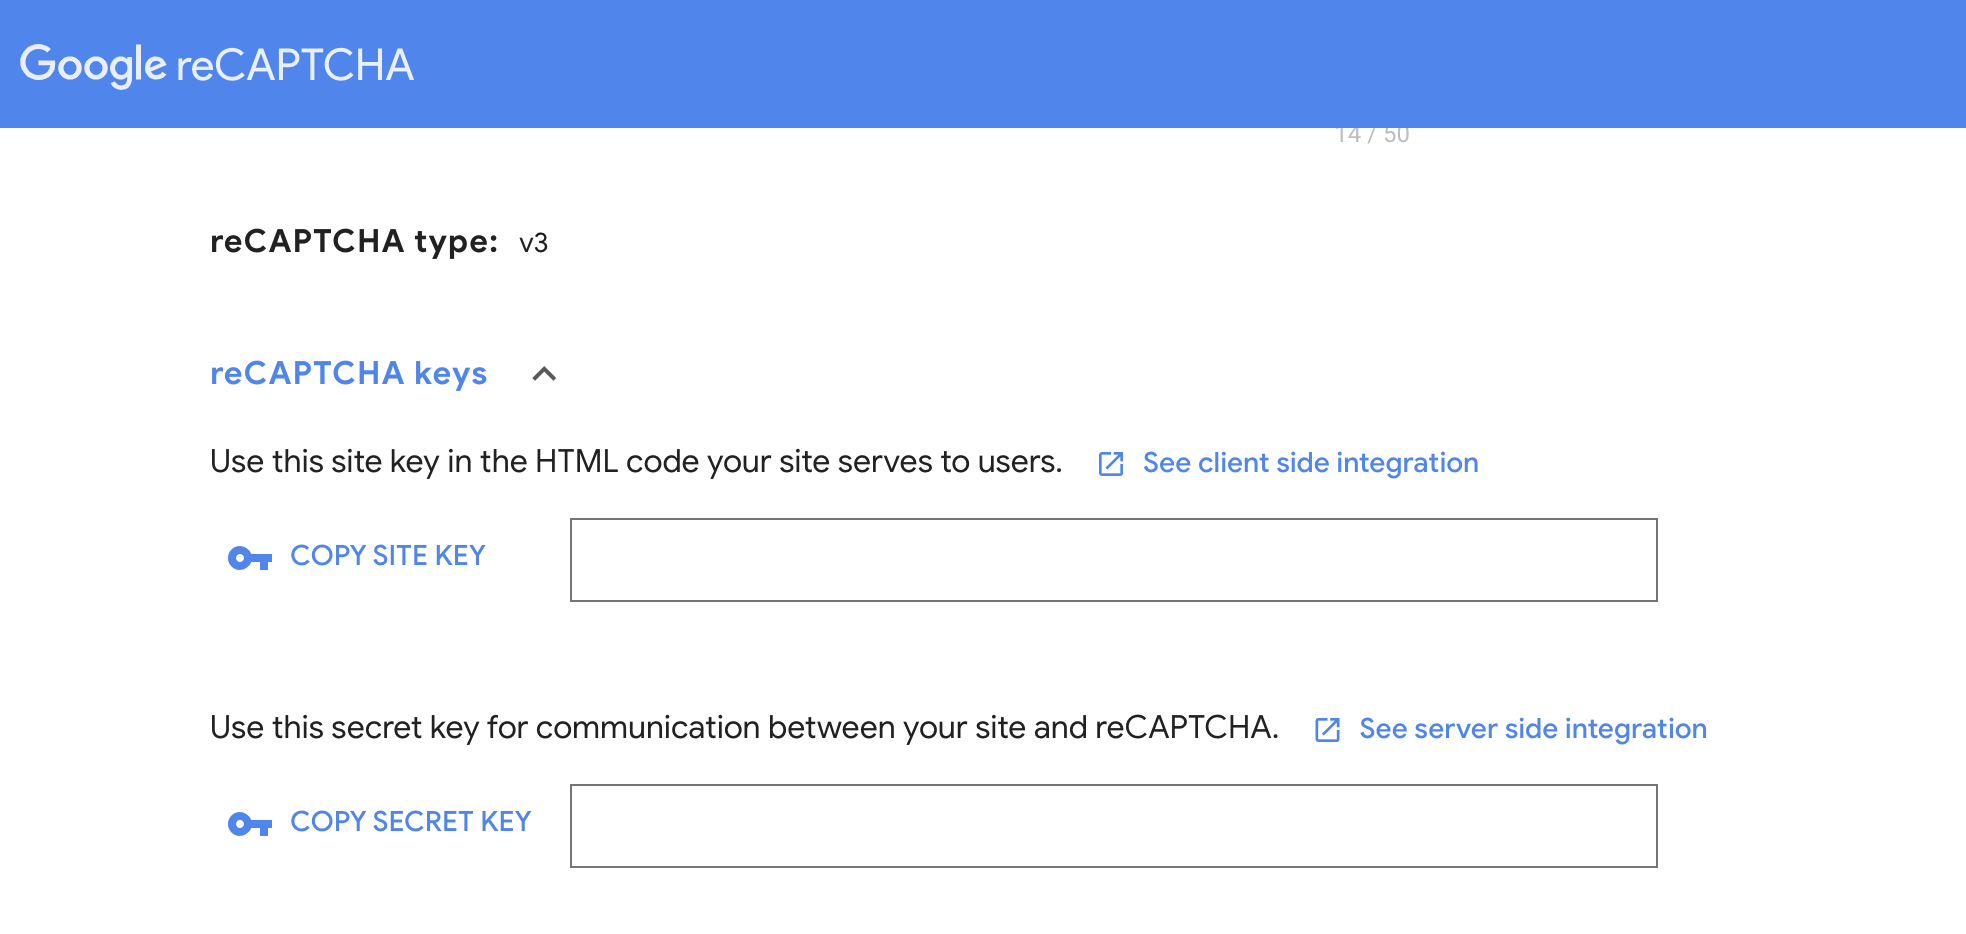
After adding your website and clicking the "Submit" button, Google will create API Keys for you:
# Step 2 - Add reCAPTCHA Library
There are 2 keys generated for you Site Key and Secret Key. For this step, we will be using the Site Key.
Add reCAPTCHA library into your <head> tags.
<script src="https://www.google.com/recaptcha/api.js?render=reCAPTCHA_site_key"></script>
# Step 3 - Add Hidden Element
Add hidden reCAPTCHA <input> into your form.
<input type="hidden" id="captchaResponse" name="g-recaptcha-response">
# Step 4 - Insert Token to our Hidden Element
Insert the code below between the <script> tags. The grecaptcha.ready() function will make a request to Google and return a token. Then you need to send the token to your back-end to check if it's a spam.
We are inserting the token to our hidden input, that way Getform can validate it.
<script>
   grecaptcha.ready(function() {
       grecaptcha.execute('YOUR_SITE_KEY', {action: 'homepage'})
       .then(function(token) {
         document.getElementById('captchaResponse').value = token;
       });
     });
</script>
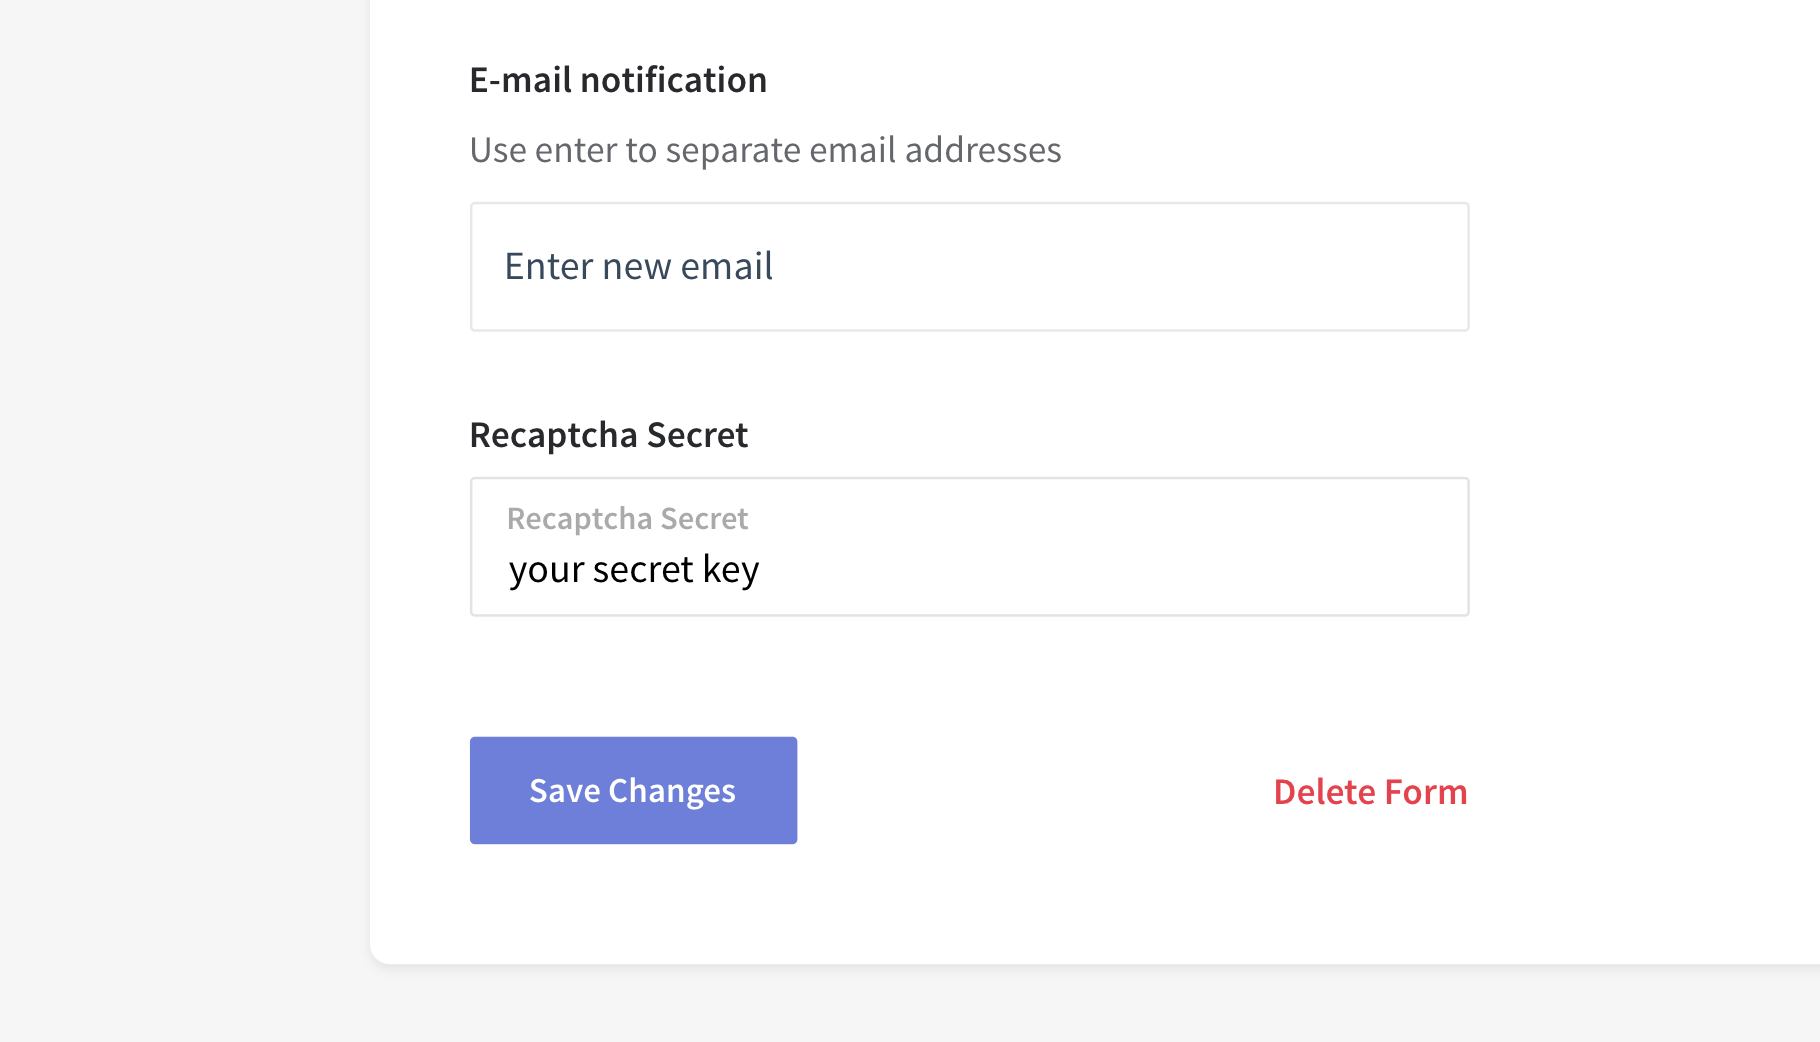
# Step 5 - Setup Secret Key
This step is where we use the "Secret Key". Add your Secret Key to your form by heading over your form settings and paste it under the "reCAPTCHA Key" section. Click "Save Changes" to save your form.
Here is a working example Codepen for HTML Form with Google reCaptcha v3:
See the Pen Getform.io Google Invisible reCAPTCHA contact form example by Getform (@getform) on CodePen.
# Setting up reCAPTCHA v2 (Checkbox)
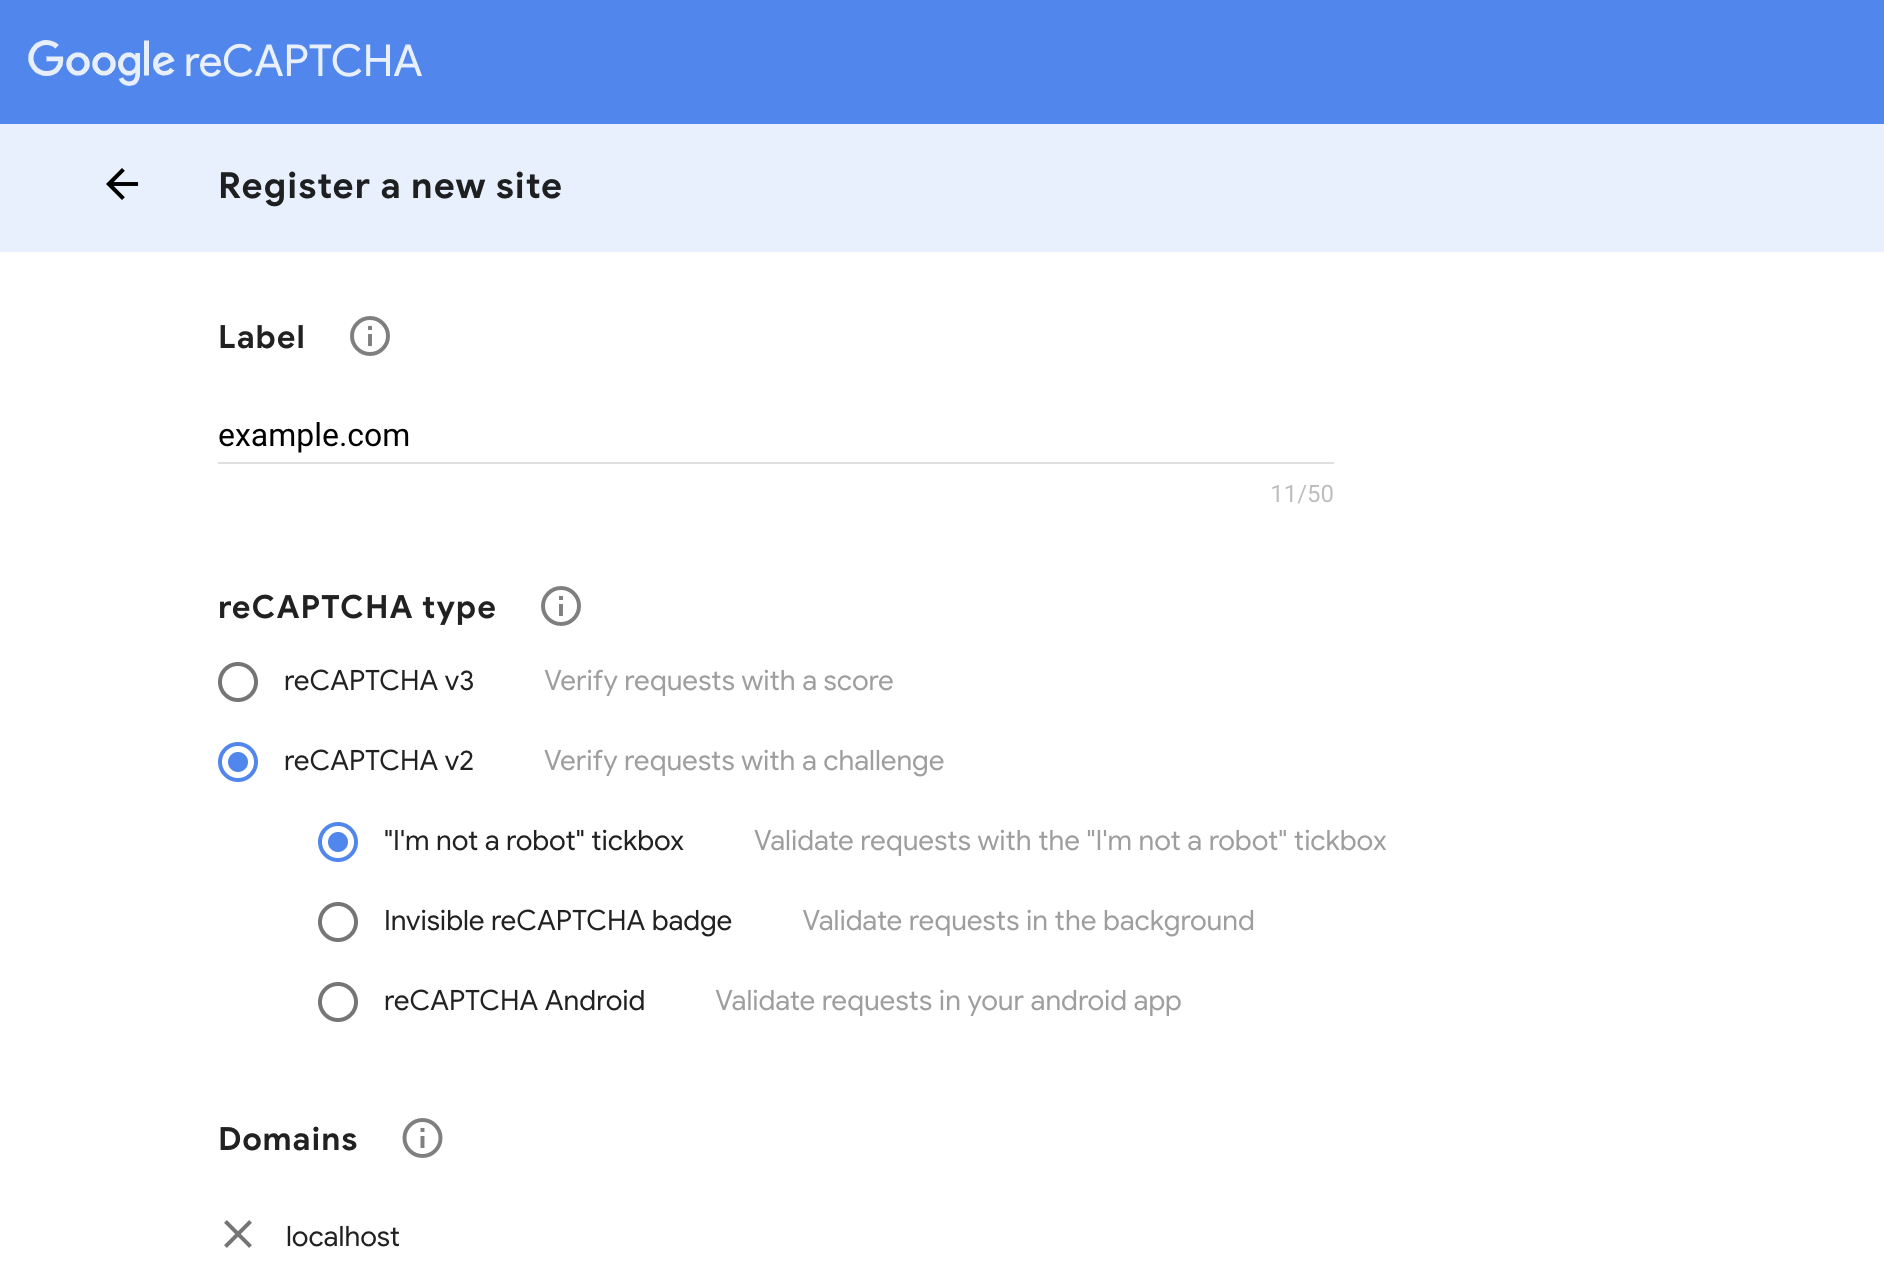
# Step 1 - Get API Keys
Similar to what we have done to set up v3, login to Google reCAPTCHA Console. This time, select reCAPTCHA v2, choose "I'm not a robot tickbox" and add it to your domains. If you want to test it on your local, don't forget to add the localhost into the domain list.
# Step 2 - Add reCAPTCHA Library
There are 2 keys generated for you Site Key and Secret Key. For this step, we will be using the Site Key.
Add reCAPTCHA library into your <head> tags.
<script src="https://www.google.com/recaptcha/api.js"></script>
# Step 3 - Add Hidden Element
Add hidden reCAPTCHA <input> into your form as follows:
<div class="g-recaptcha" data-sitekey="YOUR reCAPTCHA SITE KEY"></div>
# Step 4 - Setup Secret Key
This step is where we use the "Secret Key". Add your Secret Key to your form by heading over your form settings and paste it under the "reCAPTCHA Key" section. Click "Save Changes" to save your form.
Here is a working example Codepen for HTML Form with Google reCaptcha with checkbox:
See the Pen Getform.io Google reCAPTCHA v2 (Checkbox) contact form example by Getform (@getform) on CodePen.